Posted on

A Guide for Cleaning Your Basement

Basements are notorious for being dark, damp, and sometimes even a little spooky.

But if you clean them up and organize them, you might find they aren’t quite so bad.

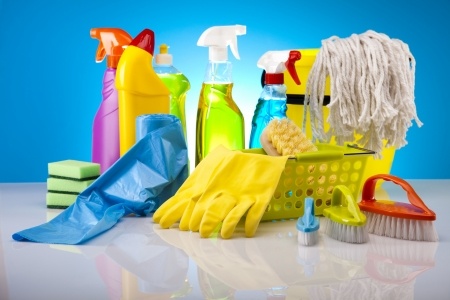
Here are some of the things that you will need to clean a basement:

  • Sponges- 1 regular sponge & 1 eraser sponge handy
  • White Vinegar
  • A Soft cloth
  • Dish-washing liquid
  • Bucket
  • Ammonia
  • Drop-Cloths
  • Rubbing Alcohol
  • Tools like vacuum, broom, dustpan, mop
  • Baking soda
  • Batteries
  • Clay cat litter and pan

Begin cleaning the basement by gathering up your materials and keeping them in one place.

Consider listening to some music while you work.

dirty basementThe first thing you should do is tackle anything that was covered up with dust covers.

Take them outside to get rid of the dust, and then throw them in the washing machine. Wipe down any items that were covered.

Next, wipe down the outside of the furnace and the hot water heater with either sudsy water or equal parts water and vinegar.

  • If you want to make sure that all of the dirt and debris are off, however, we suggest using an Eraser Sponge.

Then, mix together a gallon of warm water, a cup of ammonia, and a teaspoon of mild dish soap.

  • Put down a drop cloth near one of the walls and clean them using the mixture you just created.
  • If you happen to find mold, clean it with hot soapy water. Make sure it is thoroughly dried afterward! Do this to all the walls.

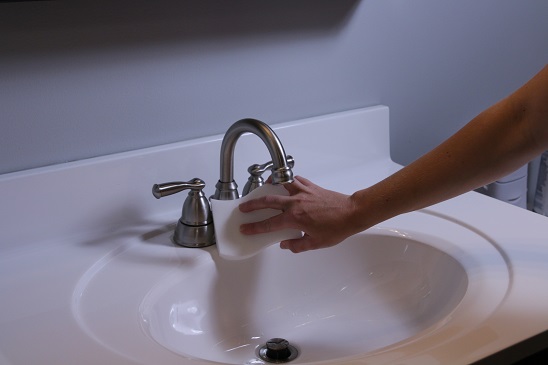
Once you have done that, clean the windows.

  • If you don’t wish to use a window cleaner, you can use a mix of 1 pint rubbing alcohol, 2 tablespoons ammonia, and 2 tablespoons of dish soap. Then, wash the windows.
  • Rinse them and buff them dry.

Next, move your attention to the floors.

  • You can use baking soda on hard floors and carpets. This will neutralize odors.
  • Once the area is covered, you can sweep it/vacuum it up, and then throw it out.

While you have your vacuum out, take a moment to gently vacuum the smoke detectors and get rid of any dust that might be on it.

  • This layer of dust could affect their sensitivity and how well they work.

To make your floors shine, mop them.

  • If you really want to detail clean it, scrub it by hand, starting on the outside of the wall going in toward the center of the room in small, circular patterns.
  • This is also an excellent time to use an Eraser Sponge!

What valuable tips have we left out? What do you do in order to clean your basement?

Posted on

Eraser Sponges: Room by Room Cleaning

cleaning your homeCleaning your home can be fun and rewarding again!

Using an Eraser Sponge, you can clean and see results immediately.

We have compiled a room-by-room cleaning list for areas you may want to use your next shipment of eraser sponges on:

Kitchen

  • Set in tea and coffee Stains on mugs, pots and maybe even counter tops
  • Small nooks and crannies of small electronics such as can opener or hood of stove
  • Microwave inside and out
  • Grout of backsplash or tiled flooring
  • Refrigerator handles and doors
  • Remove cooked on stains of pots and pans

Living Space

  • Baseboards or floors of scuff marks or stuck on grime
  • Coasters and end tables
  • Dried paint from door hinges

Bathroom

  • Build up of mildew, hair care products, and toothpaste from sinks, cabinets, floors, and tubs
  • Rust and corrosion of pipes under sink
  • Remove stains on toilet seats and in toilet bowls
  • Nail polish spills or stains
  • Hair dye stains
  • Bathroom mirrors

Bedrooms

  • Scuff on walls and baseboards
  • Carpet stains
  • Stuck on grime and stains of dressers
  • Removes adhesive from stuck on stickers
  • Clean doll faces

Outside

  • Clean pool steps before storing for the winter
  • Clean plastic coolers inside and out
  • Clean lawn ornaments from the weathering of leaves and mildew
  • Shelves and grates of grill
  • Green algae on bird baths, sidewalks or other cement items
  • Clean boats and outdoor furniture
  • Bicycle including tires and handle bars
  • Inside your car including dash and steering wheels
  • Brake dust on car rims
  • Soap scum and oils from hot tub
  • Bugs on windshield and grill
  • Small scratches on car


Posted on

Deep Cleaning Your Bathroom

magic eraser cleaning a bathroom sink

Deep Cleaning Your Bathroom with help from Eraser Sponges

A new year means a new start at making this year better than last year.

One of the best things you can do for yourself is give yourself a clean house.

It won’t happen overnight but you can start with one room at a time. First let’s start with the bathroom.

Fully Cleaning the Shower

Take the shower head off the wall and place in a bag with white vinegar.

  • Tie up the bag and let set overnight.

Take down your shower curtains and wash them in your washer with a few towels.

  • The towels will act as micro scrubbers.

Then use your eraser sponges to clean all the nooks and crannies of your shower, including doors and tiles.

Use an Eraser Sponge on the Walls

Use the Eraser Sponge to remove all mildew spots from tiles and grout.

If you come across very stubborn spots use a tooth brush with bleach to get it all clean.

Scrub Down the Toilet with Sponge Eraser

Put a cup of baking soda into the bowl and let sit for a few minutes then flush.

  • All spots should be gone, if not use a piece of an eraser sponge to get stuck on spots.
  • Then you can continue to use other parts of the eraser sponge underneath the toilet seat and on the outside of the toilet.

Now you need to clean that toilet brush- using the toilet seat to hold it between the bowl and the seat, pour bleach on top of it. Then clean out the brush holder by letting it soak in soapy water.

Get spots and grime off of the Sink

deep cleaning bathroomUse white vinegar to pour down the drain and flush with hot water.

  • Then use eraser sponges to clean the faucet and vanity top.

To get into the tiny cracks under the faucet handles use dental floss to pull out all grime.

Hand Towels

Use the sanitizing setting on your washer to clean them. Or even better just replace them every 3- 4 days.

Tackling one room at a time will help you start to see a visible difference in your home.

[msh_feedburner]