With summer on the horizon, before you know it temperatures will be rising to a sizzle. Being in the scorching sun without any relief can be taxing. However, what better way to have some fun in the sun than keeping cool with your own do-it-yourself project.
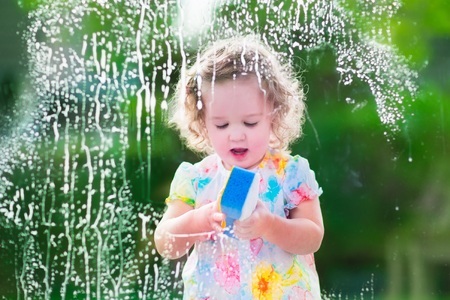
Sponge water bombs are not only reusable and environmentally friendly, but also easy-to-make and a fun alternative to water balloons.
You can get started today on this fun addition to incorporate into your summer routine.
We’ll walk you through what you’ll need, and how to make these DIY water bombs.
Supplies:
- 24 – Spongeoutlet’s Monster Scrubby Sponges
- 4-inch Cable Ties
Note: These instructions make 19-22 DIY sponge water bombs. Feel free to alter instructions based on your needs.
Tools:
- Pliers
- Scissors
- Dremel Tool
Instructions:
- Cut each sponge into 7-8 pieces along the shorter side of the sponge. Try to keep the width of each piece the same for each piece to maintain uniformity.
- Stack three pieces of sponge on top of each other. Add two more rows of 3-stacked pieces. You should now have nine pieces, stacked three by three.
- Pinch the center. Then, wrap the center of the 9 pieces with a zip tie, making sure the grooved end is facing the sponge pieces.
- Using pliers in your other hand, pull the zip tie to make it as tight as possible. The tighter, the better.
- Cut and remove excess plastic from the zip tie. Sand down any sharp points using a dremel tool.
- Now, it’s time to shape your sponge water bombs to be more round. Fluff and twist the sponges accordingly.
- Dip in water and have some fun!
Cleaning Instructions:
One huge perk of these sponge water bombs is that they are reusable, so the fun doesn’t have to stop after just one use. The bombs are dishwasher-safe. Another option is to dilute ¾ cups of bleach to each gallon of water in a bucket and soak the bombs in there.
This DIY craft originally appeared on Muslin & Merlot.
For more information on other uses of sponges, visit the Spongeoutlet.
