Tips For Cleaning Your Bathroom with Eraser Sponges

Woman cleaning bathroom with eraser products

Cleaning the bathroom can be quite the chore and one that might have to be done weekly, depending on how many people live in your home. With all the nooks and crannies, tile grout, and scuff marks, it can be a real pain to clean every area. Fortunately, many of the areas can be cleaned without chemicals using an eraser sponge.

Before you start cleaning

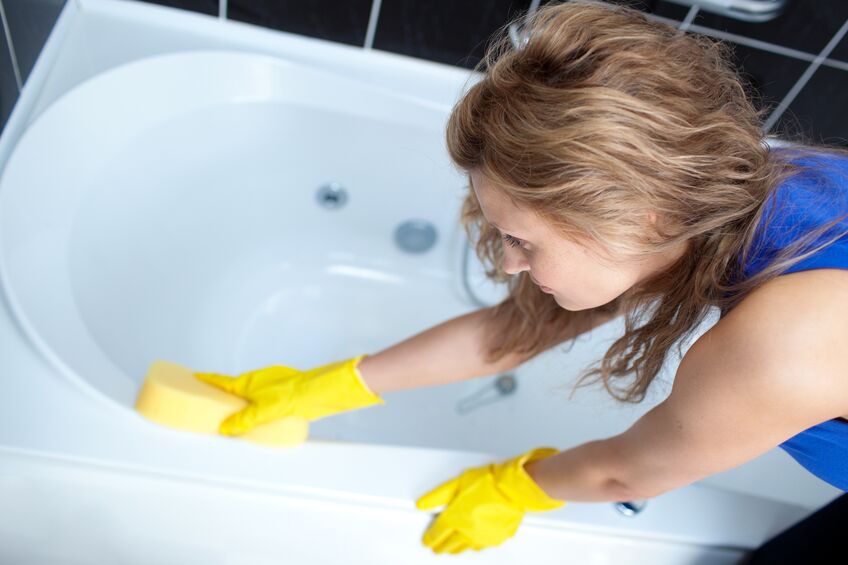
  • Wear latex or vinyl gloves. Wearing rubber gloves will protect your hands and keep the skin from becoming too dry, even if you are just cleaning with water and an eraser sponge. Plus, you will be less squeamish when it comes to tackling dirty and unpleasant areas.
  • De-clutter Counters and Tubs. Clear the bathroom of laundry, wet towels, toys, shampoo bottles and other items to expose all surfaces that require cleaning.

Begin with the tub and shower area.  If you have a separate shower stall, grab your eraser sponge and wet it with water.  Gently scrub tile walls to remove any soap scum, soap residue or water stains. Clean the shower floor last so that you are not walking over it as you clean the rest of the shower area. Run the shower at the very end to rinse away any remaining dirt or debris.

If you have a tub with a shower, clean the wall tiles first with the eraser sponge, then the tub basin and finish using the shower sprayer to rinse the area thoroughly.

Sink and counters. Work top to bottom, left to right, to remove any soap scum, dirt, water stains and leftover tooth paste from the sink and counters. Run the faucet to rinse clean.

Toilet. You may want to use a new eraser sponge on the toilet to prevent any cross contamination issues. Use a sponge on the porcelain part of the toilet, tank, handle, seat and lid. Don’t forget to get behind the seat as well. Dispose of the sponge after use.

Some blogs and social media posts wrongly suggest dropping an eraser sponge into the toilet and letting it sit. Since most eraser sponges do not contain additional cleaning agents, this will not accomplish anything other than having to fish out a wet sponge from the toilet bowl. The cleaning power is the gentle scrubbing used to remove,  dust, grime, soap scum, hard water stains, mold and scuff marks.

Clean the floors last

Use one of our eraser sponge mop heads  to clean dirty grout tile lines on floor tiles. The replacement mop head attach to the head of a mop handle (sold separately) via Velcro. Wet the sponge first or use a spray bottle to wet the floor area before using the sponge to scrub back and forth. Rinse your sponge in a bucket and squeeze out dirty water to get a clean, reusable mop head sponge. Let it air dry and reuse again and again.

You no longer need to stress over cleaning your bathroom. Bulk eraser sponges ordered from Sponge Outlet allow you to have enough sponges on hand to clean the different areas of your bathroom without going broke. Choose from the original Instant Erase eraser sponge sold in packs of 10, 50, 210, 300 and 510. Or try the compressed extra strong eraser sponges with soap. Place your order online, today!

Keep Hand Sanitizer in Your Home for the Winter Months

Hand sanitizer for home use

As we approach the winter months, we’d like to make sure you understand the benefits of keeping hand sanitizer in your home for extra sanitization and cleanliness. The COVID-19 Pandemic is still among us, which means the winter season will bring all sorts of sicknesses. To protect and prevent against all viruses and germs, make sure you have hand sanitizer for you and your family.

The Benefits of Hand Sanitizer

At Sponge Outlet, we provide a variety of cleaning supplies for your home and office space. We can provide you with hand sanitizer that will help prevent and kill germs during the seasons where most people get sick.

  • On the Go Germ Killer
  • Helps to Keep Your Hands Clean and Germ Free
  • Stops the spread of germs to others
  • Portable for All situations
  • Less Risk for Disease

You won’t always have access to a bathroom where you can thoroughly wash your hands to kill those germs, which is why hand sanitizer helps. It is much quicker than washing your hands, and it gives you the opportunity to sanitize your hands when you’re out and about. You protect yourself from the chances of catching diseases on your hands throughout the day.

Why Choose Sponge Outlet for Your Cleaning Supplies?

Coming from an area where cold weather brings germs, we understand the importance and need of a clean-living space. We can provide you with a wide variety of cleaning products, as well as hand sanitizer to make sure you and your family stay clean this winter season. Contact Sponge Outlet at 877-776-6430 today or visit us online for more information!


Tackling Mold on Walls Once and For All

Tackling Mold

Mold is the last thing you want to find inside of your home. Mold can grow in plenty of conditions, so if your home is the right blend of warm and moist, you may be at-risk.

But not to worry. If you have mold, you can get rid of it by taking a few key preventative steps and removing it completely from the areas inside your home that are affected.

Read on to learn about ways to remove mold from walls so  you can avoid replacing the interior of your home!

Step 1: Identify the mold

The first thing you’ll need to do when you suspect that there’s mold in your home is identify what kind of mold you’re dealing with. Some molds can be very detrimental to your health, while others are not so harmful, so it’s important to take the proper precautions.

Mold can grow anywhere, but you’ll most often find a version of it called mildew in your shower tile grout lines, other areas in damp bathrooms, and walls that had recently been wet due to a leak. To see if you’re dealing with mildew, test a small area by placing a few drops of bleach. If the bleach lightens up the dark spots, then you’re dealing with mildew. If it stays black, you probably have something else—like dirt!

Other molds, or mold in a high concentration, will give off a musty odor. If you can smell something funky, but can’t see what you’re dealing with, it might be a good idea to bring in a professional. Mold can be tricky to remove, even in the best of circumstances, and if you can’t see the mold, it’s probably burrowed in your walls.

Black mold is also something that you shouldn’t attempt to remove—let the professionals deal with it.


Removing Mold
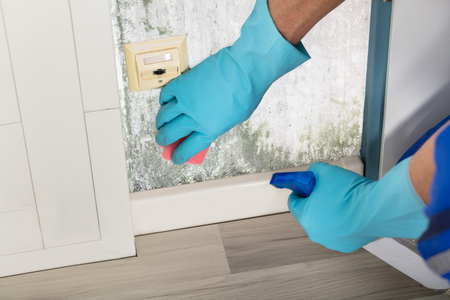
Step 2: Remove the mold

Once you’ve identified that you have an area of your home that needs to be cleaned and rid of mold, you’ll need to gather your supplies. Remove any furniture from the area that needs to be treated, and put on a pair of rubber gloves, goggles and a mask to protect yourself. You’ll also want to wear old clothing that you won’t mind bleaching or tossing when the task is done.

Home Guides says to mix 3 parts warm water to 1 part detergent in a spray bottle. Spray the solution on the moldy areas of the wall, and scrub with a towel. Keep in mind that wire brushes may damage your drywall. Once all areas have been washed, use a clean spray bottle to apply water and wipe the area dry.

Next, mix a solution of 1 part bleach to 2 parts water. Spray the mixture on the affected areas, and let it sit for 10 minutes. Then, rinse with the water-only spray bottle. Dry with a clean cloth or rag, and discard of any used towels or rags in a tightly sealed garbage bag.

If these steps don’t work, or you prefer to not use bleach in your home, you can try to remove the mold with a vinegar mixture.

Spray the mold with vinegar and let it sit for 1-2 hours. Afterwards, mix baking soda and water to form a paste, and use this paste to scrub the affected areas of your wall. Rinse with clean water when you’re finished.

Step 3: Repaint the mold areas

Unfortunately, removing mold can be a bit of a messy business, so chances are you’ll need to re-paint your walls once the mold has been taken care of. The bleach and the scrubbing won’t be kind to your paint job, so plan for a re-paint. If your walls are still dark and stained from the mold, ask your local hardware store about a primer that will cover up those stains.

Step 4: Prevent moldTackling Mold

Antimicrobial sprays can be used to prevent mold in your home. Or, you can pick up an anti-mildew paint from your hardware store.

In areas that are often subject to heat and humidity, consider installing a de-humidifier to pull excess moisture from the air and prevent mold growth. Keep everything as well-ventilated as possible.

Pick up your mold-removal supplies for your home right here at Sponge Outlet. Our microfiber cloths are great for wiping down walls and other affected areas, and our eraser sponges are great for treating tough stains caused my mildew. For more tips and tricks to keep your home clean, head to our blog! Need help placing an order? Call us at 877-776-6430.