In 2020, we are using more technology than ever. Let’s face it, since the pandemic hit, the way we interact with people has gone almost completely digital. It was walking the line before, but now it’s become so much more a part of our lives. Changing our health habits is extremely important during the pandemic. Since we’re using our technology so much, we need to be cleaning our screens as well.
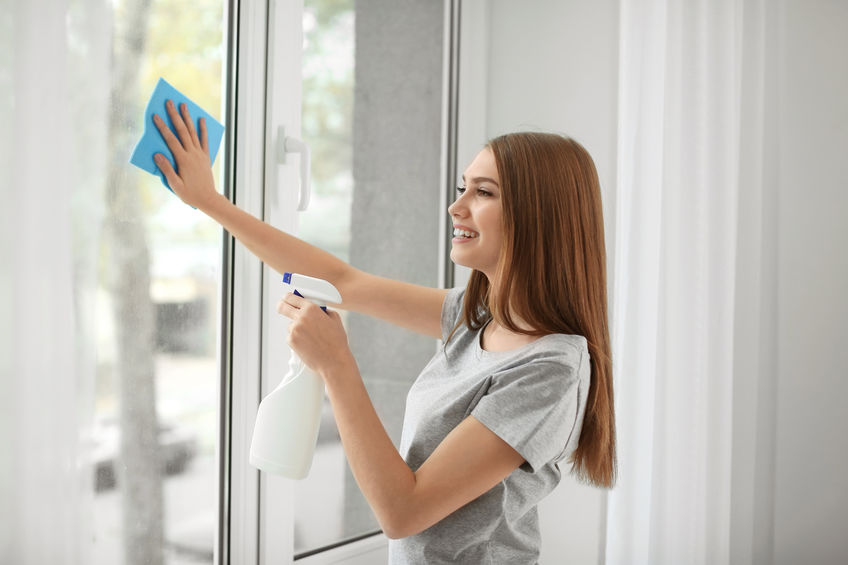
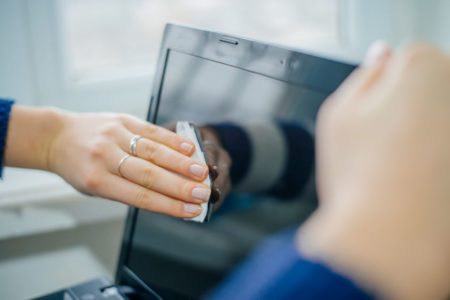
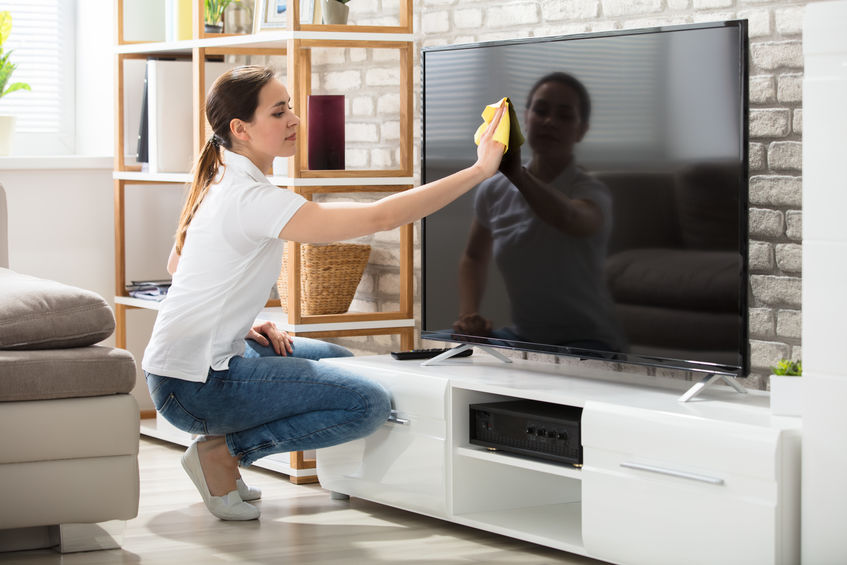
Our screens are the epicenter of germs on the hand to germs on our phones, computers, TV’s, tablets and more. One thing that is also important is to remember to clean our screens after using them. It only takes a quick swipe of a Microfiber Towel.
Good Hygiene and Smudge-Free Screens
Since the colder weather is approaching in the Northern states, it’s important to wash our hands, keep clean home, and always take care of ourselves. Hand sanitizer will come in handy, especially if you want to keep germs from traveling from your hands to other surfaces like your screens. They are perfect for on the go when soap and water are not readily available.
The Benefits of Cleaning Your Hands and Screens
- Prevent Germs from Spreading
- Keep Screen Clear of Smudges and Dust
- Prevent Scratches
- On the Go Hand Cleaner
- Prevent from Getting Sick
Using Screens More Often Than Not
Since we have really embraced technology and the internet to get things done such as working, going to school, and entertaining ourselves, it’s always important to be cleaning and preventing germs from spreading. We are constantly touching materials outside of our homes, which means we have the possibility of bringing those home. When we take precautions by using hand sanitizer on the go and cleaning our screens which we use every day, we help ourselves and others stay healthy.
If you’re searching for something to clean your screens and sanitize your hands on the go, contact Sponge Outlet at 877-776-6430 today or visit us online for more information!