Especially during the summer months, bikers can be seen all over roads and sidewalks.
On a nice sunny day, why wouldn’t you rather be basking in the warmth of the sun riding rather than driving?
As any cyclist will tell you, rain water, sun, and gravel are a few of what you can expect to damage your bike by either causing rust, chipped paint or denting.
Aside from those types of damage, everyday dirt can build up into the bike and decrease the bike’s ability to run and function properly.
Routine cleaning is essential to the upkeep of your bike, specifically during the summer months when the bike is in use the most.
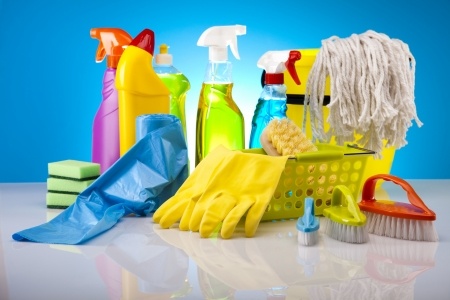
The best preventative bike care is cleaning.
A good scrub will remove all the dirt and grime that accumulates inside and out.
How effective your cleaning job will be is based upon the product you plan on using. There are many cleaning solutions on the market but not all can ensure to clean without scratching and stripping of paint.
You can test a product on the smallest part of the bike as a trial run, but that is a risk not needed to take.
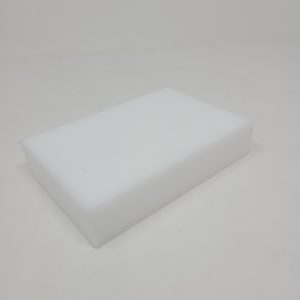
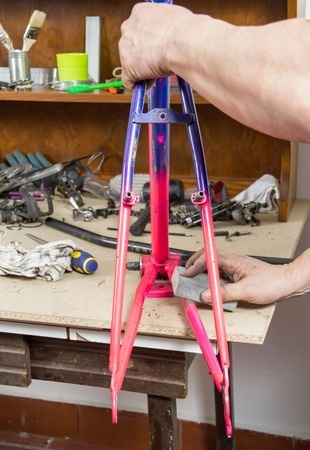
A solution to your bike cleaning needs is the melamine sponge.
This revolutionary sponge has been designed to use on a variety of surfaces, but more specifically for boats and automobiles.
The non-abrasive sponge works well and easily to clean and polish in one movement.
Melamine sponges are also very durable and will hold up for a large automobile like a motorcycle.
For cleaning instructions on a motorcycle, feel free to contact us.
The plush, sleek and cool material beneath the skin is like a trip to the spa after a really long day.
Most leather furniture has been pre-treated to a certain degree so that there is a barrier of protection when spills occur.
However, prolonged sitting and certain liquids will definitely damage the leather beyond repair.
Leather furniture, in all its beauty, can be a challenge to maintain.
Leather can become easily damaged by improper cleaning techniques.
Knowing what products to use and how ahead of a spill are key to protecting the leather when an actual spill occurs.
Most importantly for spills, you will want to clean it up immediately.
Leather is naturally porous and if the liquid passes the protective barrier on the surface, the stain becomes very difficult to clean.
Make sure all labels are read prior to cleaning and don’t forget to spot test on your couch before you clean it completely.
For example, anything with an oil base, furniture polish, waxed-based products, or ammonia-based cleaners like Windex on your leather, because they will leave the leather feeling sticky and will discolor it as well.
Abrasive cleaners are also not recommended because these cleaners will damage the surface of the leather.
With all of the don’ts for leather cleansers, what to do when you need one?
Our melamine foam eraser sponges are a product gentle enough to use on leather. This sponge is strong enough to remove grime, dirt, and stains without compromising the integrity of the product being cleaned.
For leather, the sponge leaves no hazardous residual or chemical odor and is mild enough to not damage the surface of the leather. Using our sponge to clean up spills and stains is quick, easy, safe, and effective.
Whether you are a male or female, you know what it is like to have a good pair of shoes fall below “brand new” quality and feel yourself die a little inside.
We’re here to give you some tips on how to clean your shoes and keep them in pristine condition for many years.
Shoes and sneakers can be the equivalent of art, especially when you have your favorite pairs and they cost you a pretty penny!
The care and cleaning of your favorite masterpieces doesn’t have to be hard, it just requires a couple items that you can order right online.
Sneaker experts suggest anything like these eraser sponges, which are great for removing those dark scuffs that you thought were now one with the shoe.
Guess again – these high quality sponges require no chemicals and with a little water, will buff those scuffs and skid marks right off your favorite pair of heels or sneakers.
You can also use these sponges to make the laces from your kicks look crispy and clean again.
One expert says to remove them from the shoe and place them in a bowl of water, or for whites, bleach, and let them soak.
After a few minutes, use your trusty eraser sponge to scrub out anything that wasn’t lifted. Voila!
The eraser sponges from Sponge Outlet are also a great tool to restore the bottom soles of your shoes to their former glory.
Some like to keep their soles in pristine condition and won’t wear them outside if the weather conditions are bad.
When you have an eraser waiting for you at home, you can wear your shoes in rain or snow without fear. Just come home, wet your sponge and buff off anything that might have accumulated on the bottom of your shoes.
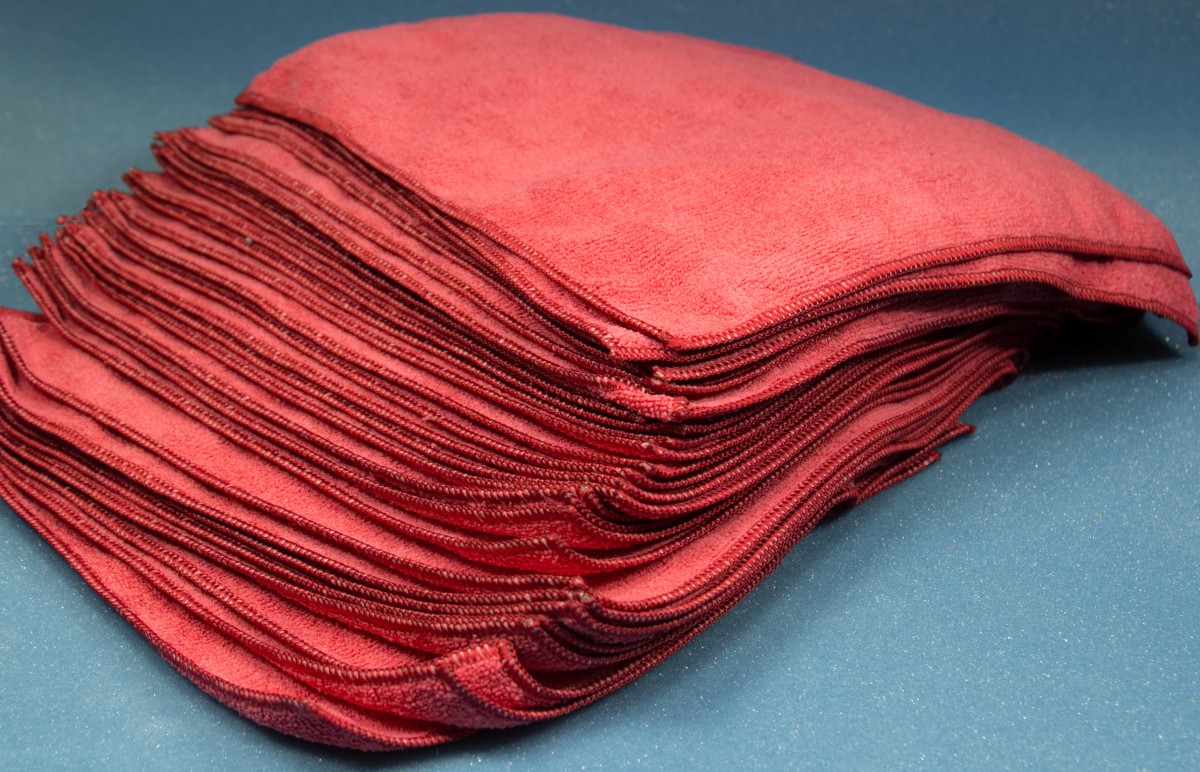
Wax On, Wax Off: Cleaning Your Car with Microfiber Towels
Few scenes are more memorable in modern film history than Mr. Miyagi’s “Wax On, Wax Off” scene from The Karate Kid. It’s a scene that teaches you proper towel wiping techniques! As such, we love the name of our “Wax On, Wax Off” microfiber towels, which are ideal for cleaning your car.
The Secret to a Scratch-Free Shine
In fact, microfiber towels are a game-changer when it comes to detailing your car. Unlike regular cotton or polyester towels, microfiber towels are designed with ultra-fine fibers that effortlessly trap dust, dirt, and debris. These tiny particles are the culprits behind those annoying scratches and swirl marks that can ruin your car’s paint job. With microfiber towels, you can clean your car without worrying about scratching the surface. They’re gentle on your car’s paint, making them ideal for both the exterior and interior.
Wax On, Wax Off Like a Pro
After washing your car, it’s time to apply that coat of wax to protect the finish and give it that showroom shine, and this is where microfiber towels can really help, as they evenly distribute wax and help leave a glossy finish.
Our microfiber towels are designed for durability and performance, giving you a professional-grade clean every time. Whether you’re washing, waxing, or detailing, our towels are up to the task. Plus, they’re reusable and easy to clean, making them a cost-effective choice for all your automotive needs.
If you have any questions about cleaning your car with microfiber towels, contact us.
While nobody really likes to do chores around the home, there are some that are admittedly easier than others.
Take out the trash? No problem.
Make the bed? Not bad.
But washing the windows? That can certainly be a pain.
Just think of all the times you sprayed window cleaner trying to clean it up and inhaled all those chemicals.
Not only does it not smell nice, there were often times fibers left behind from your paper towel!
Now that can be a pain!
However we have a method that is used by window cleaning professionals that will change how you clean your windows! This method will help get your windows completely clean.
Nothing makes you smile quite like coming to a home that smells wonderful and inviting.
Luckily there are lots of simple DIY ways to achieve this that are inexpensive. Check out the do-it-yourself scent recipes below. You may already have many of these item inside your home.
Taking just a little bit of time to improve the smell of your home can really do a lot for your mood!
See which of these options below works best for your home.
DIY Fresh Lemon Spray for Rooms and Home
A few simple ingredients that you probably already have in your house is all you need to do in order to give your home a great citrus scent. This simple DIY air freshener is a fresh-smelling clean that doesn’t smell like harsh chemicals.
Directions: combine 1/8 cup of baking soda with 2 cups of hot water and ½ cup of lemon juice.
One you mix your ingredients, pour it into a spray bottle, shake well, and then spray the scent in the air.
Try Dried Lavender in a Jar to give your home a lasting pleasant smell
Combine equal amounts of dried lavender buds and baking soda into a jar.
Shake it up.
Add three drops (there will be 24 total) of lavender scented oil and then shake the jar.
Continue to do this until you reach 24 drops.
You can place the jar in a room to enjoy the scent, or you can add a lid with holes in it for a more subtle scent.
DIY Fridge De-Odorize – Oranges in the Fridge
Many people already have oranges that they buy- so why not use the peels?
Save any orange peels and place in a jar with salt.
The orange will give off a nice scent, while the salt will draw in the unpleasant ones. Use this inside your refrigerator to it smelling fresh.
Eucalyptus Leaves
Add a few sprigs of dried eucalyptus leaves in a vase or glass and place around the house. Not only will it smell nice, but it will look nice too!
Easy Lemon Trick for Destroying Foul Garbage Disposal Smells
Take the peels from three lemons and chop them up into small pieces.
Place them in an ice cube tray (2-3 pieces in each slot) along with 1 ½ cups of distilled white vinegar.
Place filled cube tray into freezer.
Once your new garbage disposer cubes are frozen solid, transfer into a freezer bag and use whenever your garbage disposal needs a pick-me-up.
Not only will it smell good, but the ice helps sharpen the blades so it’s efficient, as well!
Consider the Season
Gather up some pine cones and drop in a few scents of your favorite essential oil.
To switch it up, think about the time of year. Cinnamon is great for fall, floral scents for spring, fruity scents for summer, and pine for winter- just to name a few.
Don’t Forget the Staples
For many, it’s easiest to go back to the basics.
Scented candles, incense, and reed diffusers are all very easy to use and all you have to do is pick them up at a store. Many of them even come in visually appealing options.
Find the Cause of the Smell
Your best bet is to figure out where the smell is coming from in the first place.
It something doesn’t smell quite right, there tends to be good reason for it!
Before adding additional smells into the home, take some time to assess where the bad smells are coming from. Sponge Outlet has many cleaning supplies that can help make it easier for you to enjoy the better smells in life!
Begin cleaning the basement by gathering up your materials and keeping them in one place.
Consider listening to some music while you work.
The first thing you should do is tackle anything that was covered up with dust covers.
Take them outside to get rid of the dust, and then throw them in the washing machine. Wipe down any items that were covered.
Next, wipe down the outside of the furnace and the hot water heater with either sudsy water or equal parts water and vinegar.
If you want to make sure that all of the dirt and debris are off, however, we suggest using an Eraser Sponge.
Then, mix together a gallon of warm water, a cup of ammonia, and a teaspoon of mild dish soap.
Put down a drop cloth near one of the walls and clean them using the mixture you just created.
If you happen to find mold, clean it with hot soapy water. Make sure it is thoroughly dried afterward! Do this to all the walls.
Once you have done that, clean the windows.
If you don’t wish to use a window cleaner, you can use a mix of 1 pint rubbing alcohol, 2 tablespoons ammonia, and 2 tablespoons of dish soap. Then, wash the windows.
Rinse them and buff them dry.
Next, move your attention to the floors.
You can use baking soda on hard floors and carpets. This will neutralize odors.
Once the area is covered, you can sweep it/vacuum it up, and then throw it out.
While you have your vacuum out, take a moment to gently vacuum the smoke detectors and get rid of any dust that might be on it.
This layer of dust could affect their sensitivity and how well they work.
To make your floors shine, mop them.
If you really want to detail clean it, scrub it by hand, starting on the outside of the wall going in toward the center of the room in small, circular patterns.
This is also an excellent time to use an Eraser Sponge!
What valuable tips have we left out? What do you do in order to clean your basement?
Deep Cleaning Your Bathroom with help from Eraser Sponges
A new year means a new start at making this year better than last year.
One of the best things you can do for yourself is give yourself a clean house.
It won’t happen overnight but you can start with one room at a time. First let’s start with the bathroom.
Fully Cleaning the Shower
Take the shower head off the wall and place in a bag with white vinegar.
Tie up the bag and let set overnight.
Take down your shower curtains and wash them in your washer with a few towels.
The towels will act as micro scrubbers.
Then use your eraser sponges to clean all the nooks and crannies of your shower, including doors and tiles.
Use an Eraser Sponge on the Walls
Use the Eraser Sponge to remove all mildew spots from tiles and grout.
If you come across very stubborn spots use a tooth brush with bleach to get it all clean.
Scrub Down the Toilet with Sponge Eraser
Put a cup of baking soda into the bowl and let sit for a few minutes then flush.
All spots should be gone, if not use a piece of an eraser sponge to get stuck on spots.
Then you can continue to use other parts of the eraser sponge underneath the toilet seat and on the outside of the toilet.
Now you need to clean that toilet brush- using the toilet seat to hold it between the bowl and the seat, pour bleach on top of it. Then clean out the brush holder by letting it soak in soapy water.
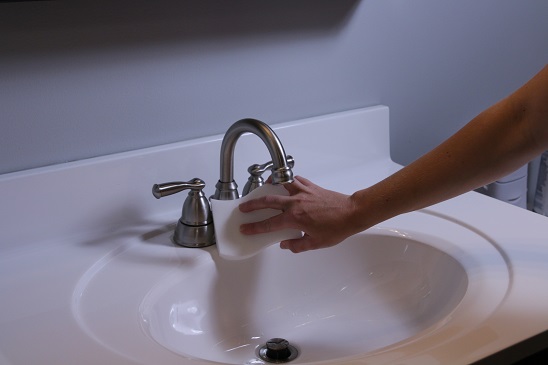
Get spots and grime off of the Sink
Use white vinegar to pour down the drain and flush with hot water.
Then use eraser sponges to clean the faucet and vanity top.
To get into the tiny cracks under the faucet handles use dental floss to pull out all grime.
Hand Towels
Use the sanitizing setting on your washer to clean them. Or even better just replace them every 3- 4 days.
Tackling one room at a time will help you start to see a visible difference in your home.
We have yet even more unique uses for your Eraser Sponge!
Clean Cell Phones and iPods
Because eraser sponges don’t require much liquid you can safely clean your iPod and cell phones.
Place a small piece of sponge in water then squeeze all excess liquid off and gently rub to remove smudges or dirt spots.
Scuffmarks on Cars
If you accidentally hit something in the driveway don’t run off to the body shop before your spouse gets home. Use an eraser sponge to clean the small scuffmark away.
Food Stains on Clothes
Place a towel under clothes and use dampened eraser sponge to gently blot away stains!
Leather Upholstery
Place the whole eraser sponge in water, squeeze all excess water then gently rub leather. Test an inconspicuous area first to ensure your leather will not adversely react.
Tea Stains
Clean your favorite teapot or tea cup with eraser sponge to make it shine like new.
Computers
Use the eraser sponge to clean your computer monitor, keyboard and mouse. These items buildup with grime from hands and can carry bacteria.
Keyboards are known to have more bacteria than handles or toilet seats.
Tarnish From Silver
Rub tarnished areas with the eraser sponge, then thoroughly wash and dry it to have a shiny new silver finish
Use the eraser sponge on the grill, windshield and bumper to clean on stuck on bugs from your last road trip to the country. Please note that you should test in an inconspicuous area first!
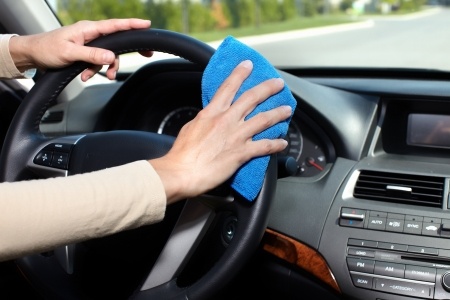
Steering Wheel
While you are cleaning the car open the door and clean off the steering wheel with your eraser sponge.


 The first thing you should do is tackle anything that was covered up with dust covers.