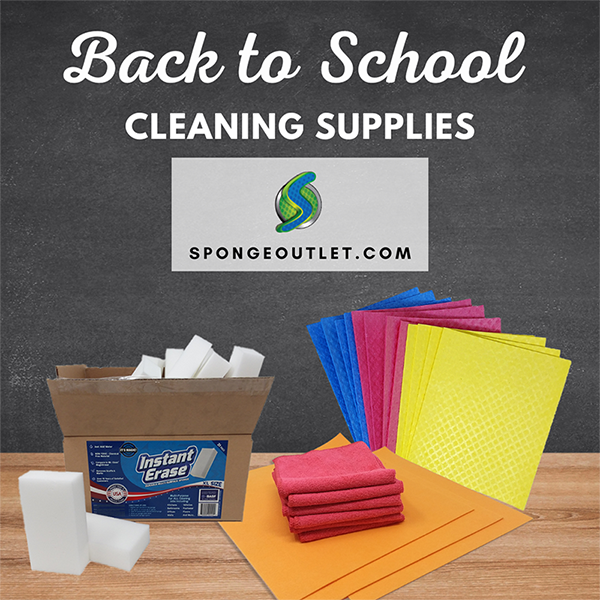
Be sure to add classroom cleaning supplies to your back-to-school shopping list. Here’s our recommendation of supplies every teacher would love to have in their classroom.
Back to School Cleaning Supplies 21 Pack of Extra Large Eraser Sponges
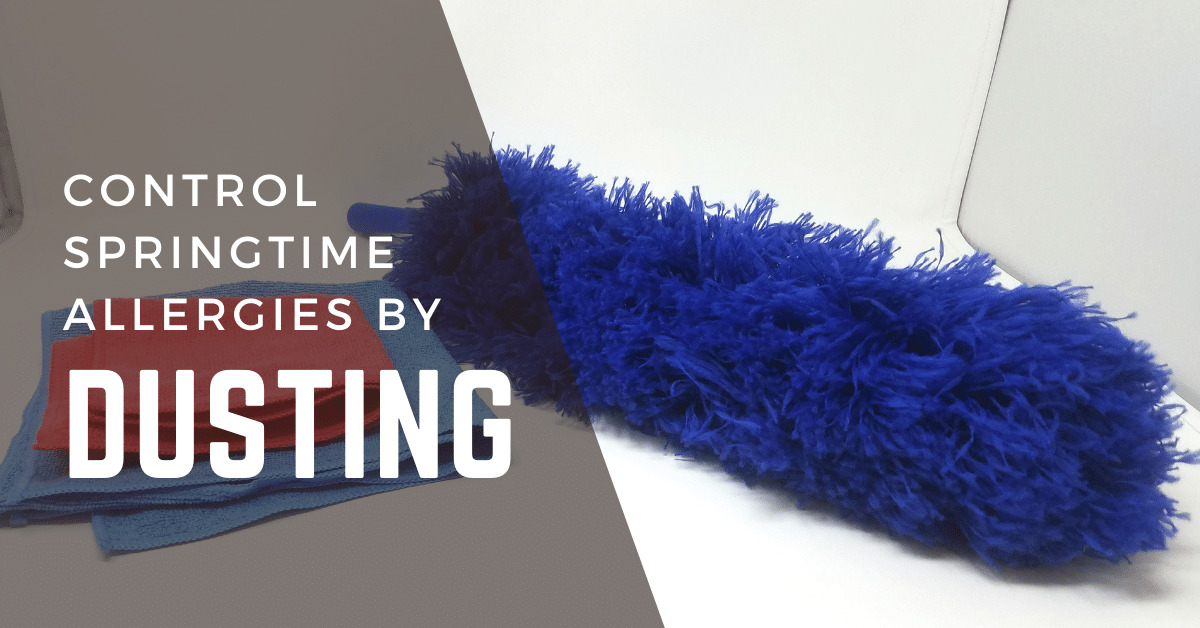
Dusting not only makes your home look nice, it can remove potential allergens from inside your home that could be making you sick.
Dust to Combat Springtime Allergies
Allergens run wild during the spring and this is due to trees, grasses and weeds releasing tiny grains called “pollen” which wreak havoc on your immune system when inhaled. Pollen can cause sneezing, itchy, watery eyes, runny noses and other symptoms. And pollen is not just outdoors; it can make up part of the dust that collects on your home’s surfaces.
Dust is another allergen and the dust inside your home could be made up of pet hair, dust mites, mold and pollen. Surprisingly, allergies could flare up AFTER dusting, because dust particles get stirred up and moved around during cleaning. To prevent this, wear a mask while dusting and use a tool like Continue reading Control Springtime Allergies By Dusting
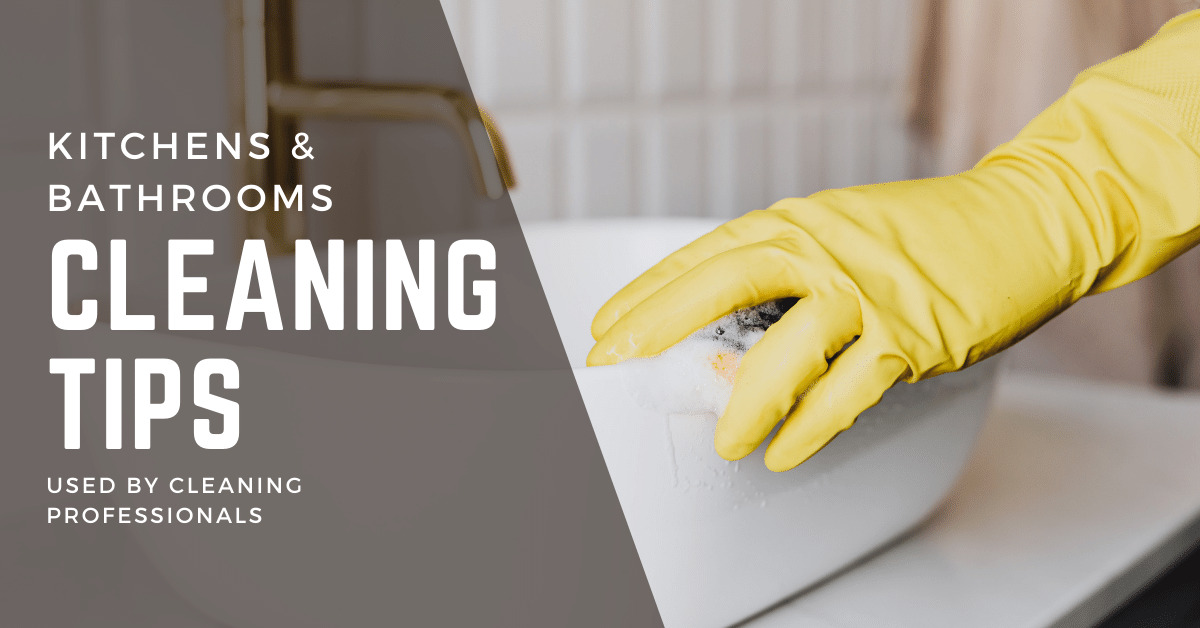
Make cleaning kitchens and bathrooms easier with these tips used by professional cleaners.
Start from the Top and Work to the Bottom
That means start with dusting high areas like the tops of cupboards or kitchen cabinets or the bathroom vanity. Use a microfiber duster to trap dirt and dust and not just knock it to the ground, or on to lower counter tops or shelves.
Now is the time to test and clean your oven in preparation for Thanksgiving Day. Cleaning takes time and it’s not something you want to put off.
Why Should I Clean My Oven?
According to appliance manufacturer Whirlpool, a clean oven cooks food more evenly and smells better versus a dirty oven. Grease and food spills can gather inside of the oven’s interior, darkening it and making the oven work harder to evenly cook food. Any spills can start to smoke and produce unpleasant smells. These smells might affect the taste of any food you cook inside it.
How to Test Your Oven Before Thanksgiving Day (Easy)
If you have not turned on your oven in several months, make sure it is working properly by baking something simple like a frozen pizza or cookies. Thanksgiving is already a very busy time for appliance repair businesses so if something is not working right; you want to know as soon as possible in order to schedule an oven repair.
Using an Oven’s Self-Cleaning Cycle
If you are planning on using the self-cleaning feature of your oven, do it a few weeks before Thanksgiving. A self-cleaning cycle reach’s incredibly high temperatures in order to incinerate food particles, dirt and grime inside your oven. The cycle takes a long time to run and the oven door locks as a safety precaution. Self-cleaning cycles can also produce smoke and smells that might linger inside your home. Be sure to open windows and keep the room well-ventilated when running the self-cleaning cycle.
If your oven is several years old, it might prove risky to run a self-cleaning cycle so close to Thanksgiving Day. During these cycles, there is a good chance that any weakened parts might break, leading to a needed repair. Thanksgiving is already a very busy time for appliance repair businesses and they may not have the part they need to fix your oven in stock.
Eco-Friendly Options for Cleaning an Oven
You may decide that cleaning your oven by hand is best. To clean your oven, first consult the owner’s manual for your oven to see what to use and what not to use when cleaning your oven. If you no longer have the owner’s manual, you can search for it online using your oven’s model number which should be located somewhere on the oven or range.
Let an oven completely cool before cleaning it. Put down towels or a plastic garbage bag to catch any drips or dirty water from cleaning and to protect your floors. Remove any oven racks. Make your own DIY eco-friendly oven cleaner by mixing together a paste of baking soda, dish washing liquid and a little water. Let the baking soda mixture sit for 30 minutes to overnight. Use a spray bottle filled with vinegar or lemon juice to spray inside the oven for added cleaning power on tough grime and grease. Scrub the walls clean using a non-scratch scrubbing sponge like the Instant Erase Super Star Scrubby or SpongeOutlet’s non-scratch cleaning pad.
Remove the oven racks and clean them by soaking them in a sink or bathtub using the same mixture. Rinse and wipe clean.
Remove any trace of your home-made cleaner before turning on your oven with a damp microfiber cleaning cloth. After your oven is clean, turn it on to make sure there is no smoking from left-over cleaner.
SpongeOutlet.com is sending our Instant Erase Sponges to help out in the clean up and recovery efforts from Hurricane Ida in Louisiana. We have contacted the non-profit Second Harvest Food Bank of South Louisiana and have sent them our sponges this week. Second Harvest distributes food, water, and supplies (including cleaning supplies) to those in need. To find out how Second Harvest is helping people out, visit their Hurricane Ida Response page.
During the summer, your bike accumulates dirt and grime after long rides and many uses. Dirt, dust and grime can accumulate on your bike, affecting its performance and causing parts to wear out quicker. That’s why it’s important to keep your bicycle clean.
Don’t use a Hose to Clean Your Bike – Here’s Why
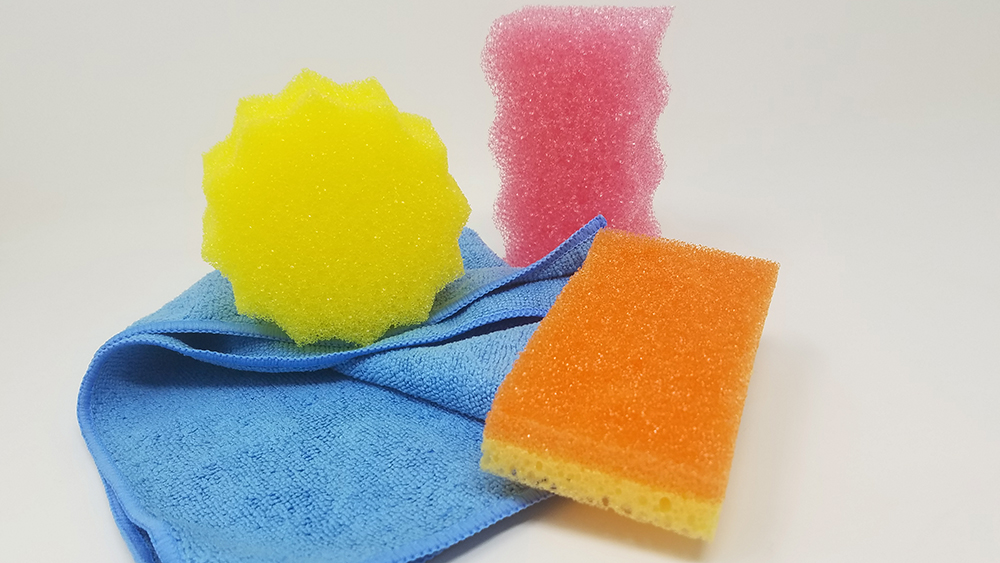
SpongeOutlet.com products recommended for cleaning a bike – a no-scratch scrub sponge to remove dirt and grease and a microfiber cleaning cloth to dry all parts.
A good scrub will remove all the dirt and grime that accumulates on the bike frame. However, you do not want to blast your bike with a garden hose, which can push dirt and water into the bearings, making them age faster or possibly seize up. Instead, use a bucket of water, mild cleaning agent and a non-scratch sponge to clean your bike. A sponge like our Instant Erase Super Star Scrubby, Monster Scrubby- Scratch-Free Sponge, or Duo Cleaning Sponge, would be ideal for cleaning a bike frame. The non-scratch sponges will not harm the paint, yet will be tough enough to remove caked on mud, scuff marks and other dirt.
Immerse the sponge in water and then squeeze the water out over the bike to wet it before using the sponge and soap to clean.
For cleaning the gears, use a specialty gears brush, which can reach between the cogs. You may need to remove the bike chain from the chain ring or chain wheel in order to get proper access to the gears.
Be sure to clean the bike chain as well. It’s recommended by specialty biking websites to use a degreaser on the bike chain to remove dirt build-up. A gadget called a chain scrubber can be purchased to make it easier to clean the bicycle chain without removing the chain from the bike.
Rinse your bike by squeezing clean water over the bike frame to remove the soap and dislodged dirt.
Dry your bike using a microfiber towel to prevent rusting. Re-lube the drive chain by manually back peddling the chain while you spray or apply the lube to the chain. Don’t forget the pivot points on the front and rear derailleurs.
You can also apply polish to the bike frame to repel dirt and to keep it cleaner longer.
It’s important to clean your bike whenever it’s dirty and especially before you store it away at the end of summer or fall. If you’re looking to keep your bike, motorcycle, or other vehicle clean this summer, shop Sponge Outlet today for all the cleaning supplies you need.
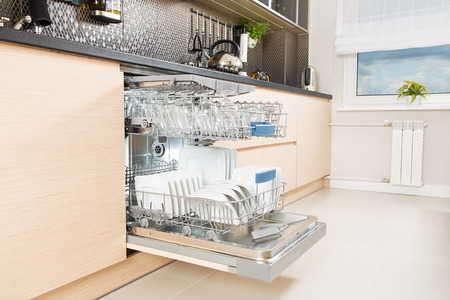
Your dishwasher is one of the hardest working appliances in your kitchen, considering it cleans the grime and food off your dishware. It makes sure your dishes, glasses, silverware, and cooking accessories are sparkly clean. Keeping it clean and well-maintained will help get dishes as clean as possible and also extend the life of the appliance.
Clean the Gasket Seal Around the Dishwasher Tub
The plastic or rubber-like seal around a dishwasher tub helps to secure it and prevent any water leakage. Over time, the seal can become dirty and possibly smell. Use an eraser sponge to remove any dirt, grime or food particles from the seal. Check the racks and the silverware basket to make sure they are clean as well. Over time, dirt can build-up and food particles can become trapped, especially inside the basket. Some silverware baskets are removable and can be cleaned in the sink. An eraser sponge can also help remove dirt and grime from racks and the basket.
Remove and Clean the Dishwasher Filter
Check the bottom of the rack or consult your owner’s manual to see if there is a removable filter that should be cleaned. Many newer-models of dishwasher have a filter that can be removed and washed out in the sink. The filter traps food and other foreign objects from being sucked into the dishwasher pump and damaging or clogging it. To clean any filters, pull out the bottom rack and check for a removable filter. You may also have protective caging at the bottom of your dishwasher that is removable as well. Unsnap it and rinse it off in the sink with a sponge. Snap the caging or replace the filter back into place once it is clean.
Run a Cleaning Cycle
Many modern dishwashers have a cleaning cycle that can be run to clean the inside of the dishwasher. Use a commercial dishwasher cleaner, or else place a cup of plain white vinegar in the top rack of the dishwasher and run a normal cycle. Some blogs suggest using bleach to clean your dishwasher, however if the inside of your dishwasher is stainless steel this can lead to corrosion and damage. As ever, follow the manufacturer’s instructions to extend the life of your dishwasher and minimize maintenance.
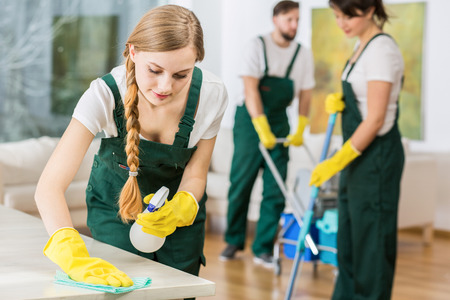
We’ve all been a bit too busy, or tired, or interested in other things to worry about keeping the house clean. When you’re strapped for time, but you still appreciate a sparkling home, bringing in a professional cleaning company is a great way to maintain your sanity and clean the house.
But, you shouldn’t just choose the first cleaning company that you come across online. After all, the people you hire will be spending a lot of time inside your home, and you want to be sure you can trust them. Plus, you want to make sure you’re getting a good deal.
Read on for a few key questions to ask before hiring a cleaning company.
Do you have insurance?
The most important question to ask is whether the cleaning company is bonded and insured. They should carry liability insurance and bond, and have policies to follow for what to do if one of your items is broken or goes missing during a cleaning, according to Angie’s List.
You should also make sure that any potential company that you hire has workers’ compensation insurance and ask to see proof. If a worker is injured in your home, or even while driving on their way to your home, if your cleaning company isn’t properly insured, it could end up costing you.
Keep in mind that your homeowner’s insurance doesn’t typically cover short or long-term disability or workman’s comp from injuries sustained by workers in your home.
If the cleaning company balks at the question, move on. If they are happy to provide the paperwork, and don’t seem surprised that you asked, chances are they’re a reputable company and they have their insurance in order—but definitely look at the paperwork yourself.
How do you determine prices?
Chances are, this will vary from company to company. It’s important to understand how your cleaning company will set rates for your home before you sign on the dotted line. Ask for an estimate for how long it’ll take to have your home cleaned.
If you want to make sure to control costs, ask about capping the number of hours workers can be at your home. And, most companies will charge an hourly rate for the initial visit, and then a flat rate based on that visit after that.
Do you use your own cleaning supplies, or do you want me to supply them?
Another hot button issue when it comes to cleaning services is who provides the products. If you have very specific products that you want your cleaning company to use, then they should be able to make that allowance. But, it’s always nice when the cleaning company provides the products themselves. That way, the workers will be properly trained on how to use the products, and you won’t see any damage to your furniture if, for example, someone used the wrong cleaning agent.
Some cleaning companies may offer a few options in terms of which products you’d like them to use. If it’s important for you and your family, ask about non-toxic options.
How do you screen your staff?
Like we said in the intro, the staff at the cleaning company will be trusted with keys to your home, so you want to make sure the people who are working for the cleaning company are screened. Most companies will provide background checks if you ask, and some companies will also do drug screenings of their employees.
What services are included?
Some cleaning services include laundry, while others don’t – you may prefer to ask for deep cleans of windows, baseboards, and bathrooms from your cleaning service, and leave the daily tasks like dishes for yourself. Or, you can request that everything is cleaned. It all depends on your preference, and what the cleaning company offers.
What should I do with my pet?
Ask about what your cleaner is most comfortable with when it comes to your pet. If you won’t be home during the cleanings, introduce your dogs to your cleaner before they clean for the first time, that way your pup won’t be alarmed when your new cleaner lets himself in.
If your cleaner would prefer to clean the home without the dog around, make sure the pup is crated or staying with a friend during the clean.
Can I see references?
The last thing we recommend you asking is for references: most cleaning companies will have these handy and be happy to send them to you. Customer satisfaction is a great indication of a good service, so if the reviews look really good and honest, chances are you can trust the company.
Is dusting just about your favorite pastime? Yeah, we didn’t think so. Here at SpongeOutlet, we’re not crazy about it either, but our years of perfecting cleaning methods and products have taught us a thing or two about the right way to clean your home. And, while you may think dusting is as simple as wiping your furniture with a microfiber cloth, we’re here to tell you that you’re skipping a few steps.
Read on to learn about how to dust the most effective way, in our must-know dusting lesson.
Must-Know Dusting Advice: Make a Plan
Start out by making a plan, or map of what you’ll need to dust: if you prefer lists, that works too. The reason we suggest making a plan is that dust is everywhere, and many people skip very dusty spots simply because they get distracted by other dusty spots when they get started.
A good rule of thumb is to dust one room at a time, and don’t just think about the surface: your bathroom, for example, may need to have its walls dusted. Moist air from your shower can cause dust to stick to the walls and baseboards with a little more sticking power than in other rooms.
Start at the top and work your way down. If you have a ceiling fan, dust that first. If you have crown molding, dust that second. Then, tackle the walls, then the furniture, and finally give the floors a good sweep. Dusting your room will upset the layers of dust on your floors and furniture, so starting up high ensures that you’re not leaving any misplaced dust behind. A strong finish with a vacuum cleaner is the best.
Must-Know Dusting Advice: Remove Everything
The first thing to do when dusting a room is to remove all of the items on the surfaces of your tables. You’ll be able to easily dust all surfaces and hard to reach areas, but remember: before you bring your stuff back into the room, make sure you give it a thorough dusting. It would be a shame to spend an hour dusting, only to re-deposit a pile of dust on your perfectly clean tabletops!
Must-Know Dusting Advice: Choose your Tools
We already mentioned a vacuum cleaner: utilize the extension tools that came with it, and don’t forget to change the settings for when you switch from carpet to hardwood. It might seem silly, but it actually makes a difference in how much stuff you pick up.
Microfiber dusting wands are a great alternative to chemical dust sprays, but those can be effective if used properly, especially on that expensive antique furniture in your living room.
Pro tip: if you’re not sure how best to clean a particular item of furniture, ask your local hardware store or furniture store for advice. There are different rules for different woods, as well as laminate surfaces.
For dust that’s a bit out of hand, use a damp microfiber cloth, like the ones available from SpongeOutlet.
Must-Know Dusting Advice: Get Preventative
According to HGTV, one of the best ways to “dust” your home is to prevent the dust from accumulating in the first place. You can do this by investing in new air filters for your air conditioner and heating systems.
If you’re really anti-dust, you can get rid of your carpeting and opt instead for washable throw rugs. Carpet tends to trap dust, and even when it’s been properly vacuumed, it often has a bit left behind.
Decluttering your surfaces is another great way to make dusting easier: without all of those pesky nooks and crannies to tend to, dusting will be easier and more efficient, costing you less time on your weekly chore list.
Must-Know Dusting Advice: Dry to Wet
If you have hardwood or tile floors, you may be inclined to mop them regularly, but it’s important to dust them first. Use a dry mop or broom to sweep away any dust that’s on your floors, because once you turn on the water, the dust will clump and become more difficult to remove.
So, a good rule of thumb: always start with a dry mop, and then switch to a wet one. The same applies when you’re dusting vanities or sinks in your kitchen and bathroom.
Must-Know Dusting Advice: Frequent Repeats
Now that you have a plan of action, the key to keeping a dust free home is to dust it frequently. You don’t have to make it an everyday chore, but at least once a week is a good rule of thumb. For households with a lot of pets and people, you may need to double or triple up.
Spring is in the air! Which means, it’s time to put away your heavy winter coats, and bring the spring wardrobe out of the closet. And, that means it’s time to do some serious spring cleaning.
Doing a deep-clean of your home once a year is important. It prevents dirt built up on your floors and tile, and also gives you a chance to clean places that you typically leave alone during a normal clean. Plus, it’s a great time to de-clutter your home and get rid of things you haven’t used in the last 12 months or so.
Read on for some spring cleaning tips you won’t want to miss.
We’ll help you keep your spring cleaning to-do list manageable, so you can get your home in tip top shape and can enjoy the spring season.
Spring Cleaning Tip 1: Get Organized
No one likes to be cooped up inside all day vacuuming when the weather is nice, so it’s important to get organized about your spring cleaning and get ahead of it: the more you plan and organize, the less time you’ll waste, so you can get back to your regularly scheduled spring programming in no time.
Make a list of all of the items you want to tackle this spring-cleaning season. Suggestions from House Beautiful include cabinets, windows, the inside of your dishwasher, your fridge shelves, silverware, oven, wood floors, carpet, storage areas, pantry, washing machine, mattress, painted walls, bookshelves, and outdoor furniture.
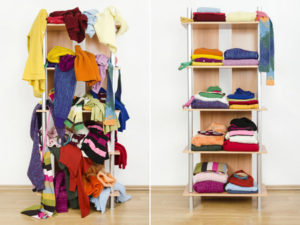
Spring Cleaning Tip 2: De-Clutter
The best thing to do first when spring cleaning is to de-clutter. Take everything out of your closets, first. Get rid of winter clothing that you didn’t wear this season or last season, and pare down by getting rid of anything you don’t love anymore. Make sure you donate clothing that’s still in good shape to your local Good Will or charity.
Make a pile of shoes you need to get repaired, and call around local shoe repair shops to get the best price. You should also wash or dry clean your winter coats before packing them away for the spring and summer season when you won’t need them.
In the kitchen, take everything out of your pantry and throw away any items that are expired. Don’t forget to check your spice cabinet, too—if you don’t cook frequently, some of those spice bottles may be too old to use!
Wipe out the cabinets and vacuum the bottom of your closet before putting everything away.
Spring Cleaning Tip 3: Visit the Outside of Your House
Choose an overcast day to tackle the outside of your home. Wash the windows (inside and outside), and dust and clean the porch furniture that’s been sitting in your garage all winter. If you need to do some mild landscaping before the spring hits, get that out of the way too.
Use your garden hose to get rid of spider webs or built up dirt on the siding of the house, and if you need to, rent a power washer from your local hardware store to get pollen build up off the side of your home.
Sweep the porch and the deck, clean your welcome mats, and get everything set up for the spring!
Spring Cleaning Tip 4: Tackle the Inside of Your House
Take it one room at a time in the interior of your home, and plan to split this process up over a few days; getting everything done all at once won’t work!
Take down all of the curtains and wash them to remove dust and any other build up. Dust everything! Don’t forget places like the back part of your bookshelves, ceiling fans, sconces, baseboards, night stands, coffee tables, and any other surface that collects dust.
If you have a pet, use the attachment on your vacuum cleaner to get rid of hair and fur on your upholstered surfaces, including your headboard, couches and chairs.
Vacuum and shampoo the carpeting in each room, moving your furniture as you go so that you clean the entire carpet rather than just the traffic areas.
Good Housekeeping says you shouldn’t forget to vacuum your mattress! Use the crevice tool on your vacuum to remove dust from your mattress.
Clean the kitchen next: wipe down your cabinets—if they’re wood, use a wood cleanser so that you don’t dry them out. Clean your appliances, including your oven, microwave and dishwasher, and use vinegar to deep-clean your stainless-steel pots and pans. Don’t forget the fridge: remove all of your food, toss out expired items, and use a disinfectant spray to wipe down the shelves. You may be able to remove them and pop them in the dishwasher.
Spring Cleaning Tip 5: Pay Attention to Your Walls
Your walls can build up with grime from fingertips and other grease, so use an eraser sponge, like the ones we offer here at SpongeOutlet, to freshen up areas around door knobs, light switches, highly trafficked corners, and more.
Spring cleaning doesn’t have to be overwhelming: follow these tips, and stock up on cleaning supplies from SpongeOutlet before you dive in. If you stay organized and stick to a schedule, your home will be cleaner than ever in just a few days!


 Can I see references?
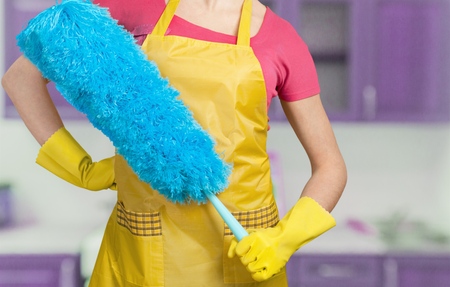
 Must-Know Dusting Advice: Choose your Tools
 Must-Know Dusting Advice: Frequent Repeats
 The best thing to do first when spring cleaning is to de-clutter. Take everything out of your closets, first. Get rid of winter clothing that you didn’t wear this season or last season, and pare down by getting rid of anything you don’t love anymore. Make sure you donate clothing that’s still in good shape to your local Good Will or charity.
 Take it one room at a time in the interior of your home, and plan to split this process up over a few days; getting everything done all at once won’t work!