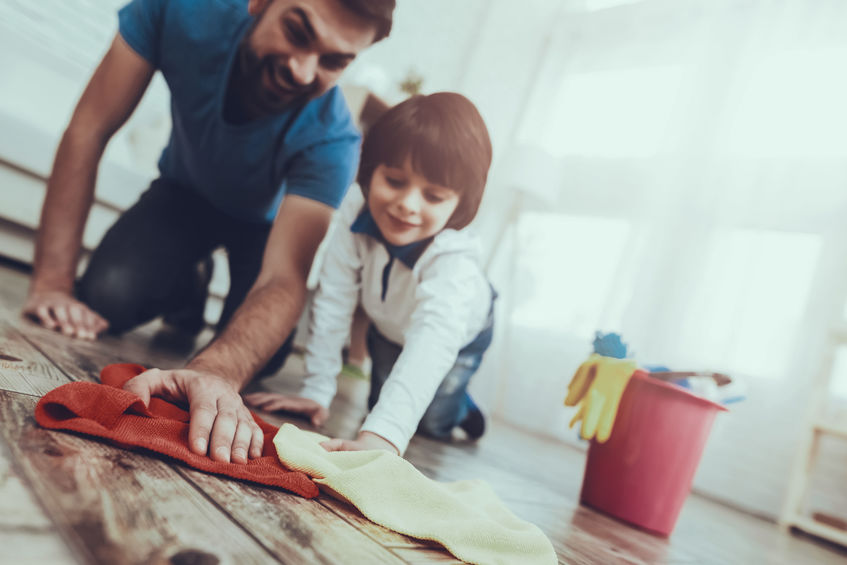
Too many times you bend over and try and reach under the couch or behind cabinets to clean your floors. Well, there is a much easier way to do this. We understand that dust can build up under and behind these places, and it can be difficult to constantly clean these places. With a proper cleaning product from Sponge Outlet, you won’t have to bend over anymore!
Flexible Microfiber Dusting Wand Will Do the Trick
With the Flexible Microfiber Dusting Wand, it will allow you to get under tough places like cabinets, couches, chairs, tables, and other furniture that have tight places. Dust can hide behind and under them for quite some time without you noticing unless you’re checking daily. The dusting wand allows you to quickly grab the dirt and dust on a daily basis. You will be able to keep your home or apartment clean every single day.
- Clean the wand with water and let air dry after use
- Able to clean delicate areas
- Wand is flexible and soft, so it prevents scratches
Melamine Eraser Floor Cleaning Pads
Another great product to use for cleaning hard to reach places located on the floor is the melamine eraser floor cleaning pads. If you need to clean up stains, spills, or any other messes, the floor cleaning pads will do the trick to clean them. The beauty of our products is that they contain no chemicals, and they are good for the environment.
Sponge Outlet
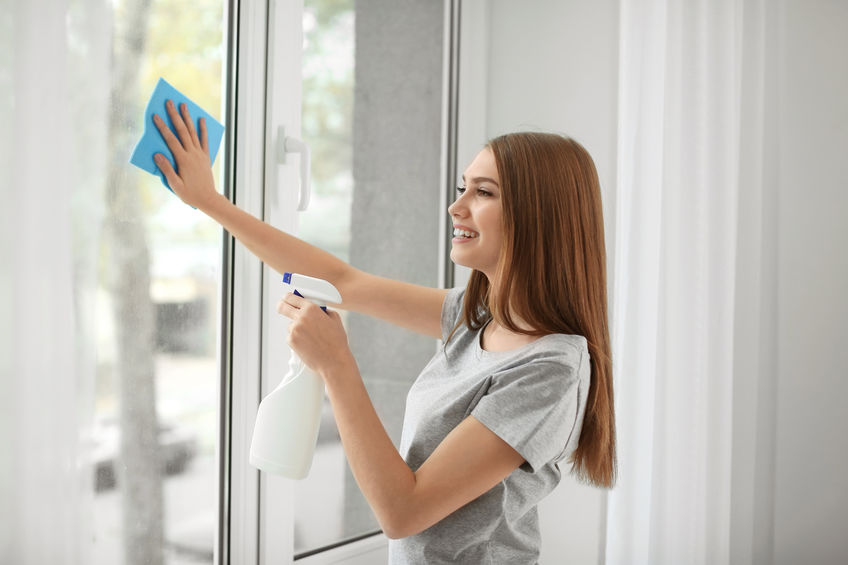
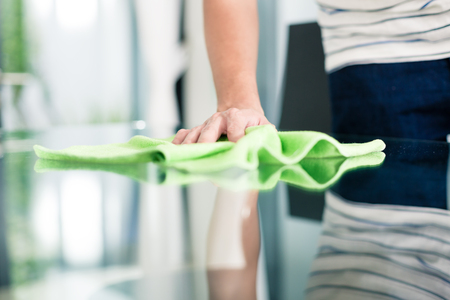
At Sponge Outlet, we have the perfect cleaning products to get those hard to reach places. Cleaning the floors of your home is crucial to living in a healthy and clean home, but not every day can you be getting down to clean under the couch. With our cleaning products, cleaning will be that much easier.
Contact Sponge Outlet at 877-776-6430 today or visit us online for more information!