Make Your Painted Walls Spotless!

eraser spongeHave you taken a look at your walls lately?

If not, you might be surprised about what wound up on there.

Here is a simple step by step instruction of how to remove any sort of mess off your walls and make sure they look great!

Step One: Cobwebs

This is a part of cleaning we don’t like to think about, since cobwebs tend to mean spiders are afoot.

However, getting rid of huge clumps of dust, dirt, or lint will make it easier for you to get at the stickier messes.

  • Use a cloth or a vacuum, depending on where the location is.

Step Two: Spot Cleaning Crayon Marks

For those who have kids, crayons can go missing or get used for the wrong purposes. Check to see if you see any crayon marks.

If you do, the first thing you want to do is make sure there are no clumps of it on the wall. Smearing large chunks can make your mess bigger.

Step Three: Spot Cleaning Marker and Ink

This is an accident that anyone in the home can be guilty of. Since this process is slightly different, it should be treated as a separate step.

  • First try spot cleaning with your eraser sponge.
  • If you have a textured wall, the heavy duty version should work better.

However if for some reason this doesn’t work, there are some other tricks to try.

  • If you have hairspray handy, you can spray the stain with it, and then gently rub the wet spot with a paper towel or rag.

This process may have to be repeated more than once. If this doesn’t work either, then covering the stain with plain toothpaste for ten minutes might lift it. Wipe it clean!

Step Four: Removing Beverage Stains

If you have a magic eraser, try this first.

It will save a lot of time and scrubbing. If not, then a mild detergent will be gentle enough to be used on stained walls. You don’t need much, though!

Step Five: Clean What Remains

You might get done treating these individual stains and notice your walls look blotchy now.

Do a gentle but thorough wipe down of your walls to ensure you didn’t miss anything. If you have stubborn grime on your walls, eraser sponges work great for that too!

You will find after all this hard work, your walls will look like new!


Eraser Mops: Making Floor Cleaning Easier!

eraser mopWe spend a lot of time talking about our Eraser Sponges.

They just have so many awesome uses!

They clean up stains and dirt and anything else you can think of, and it doesn’t have that horrible chemical smell.

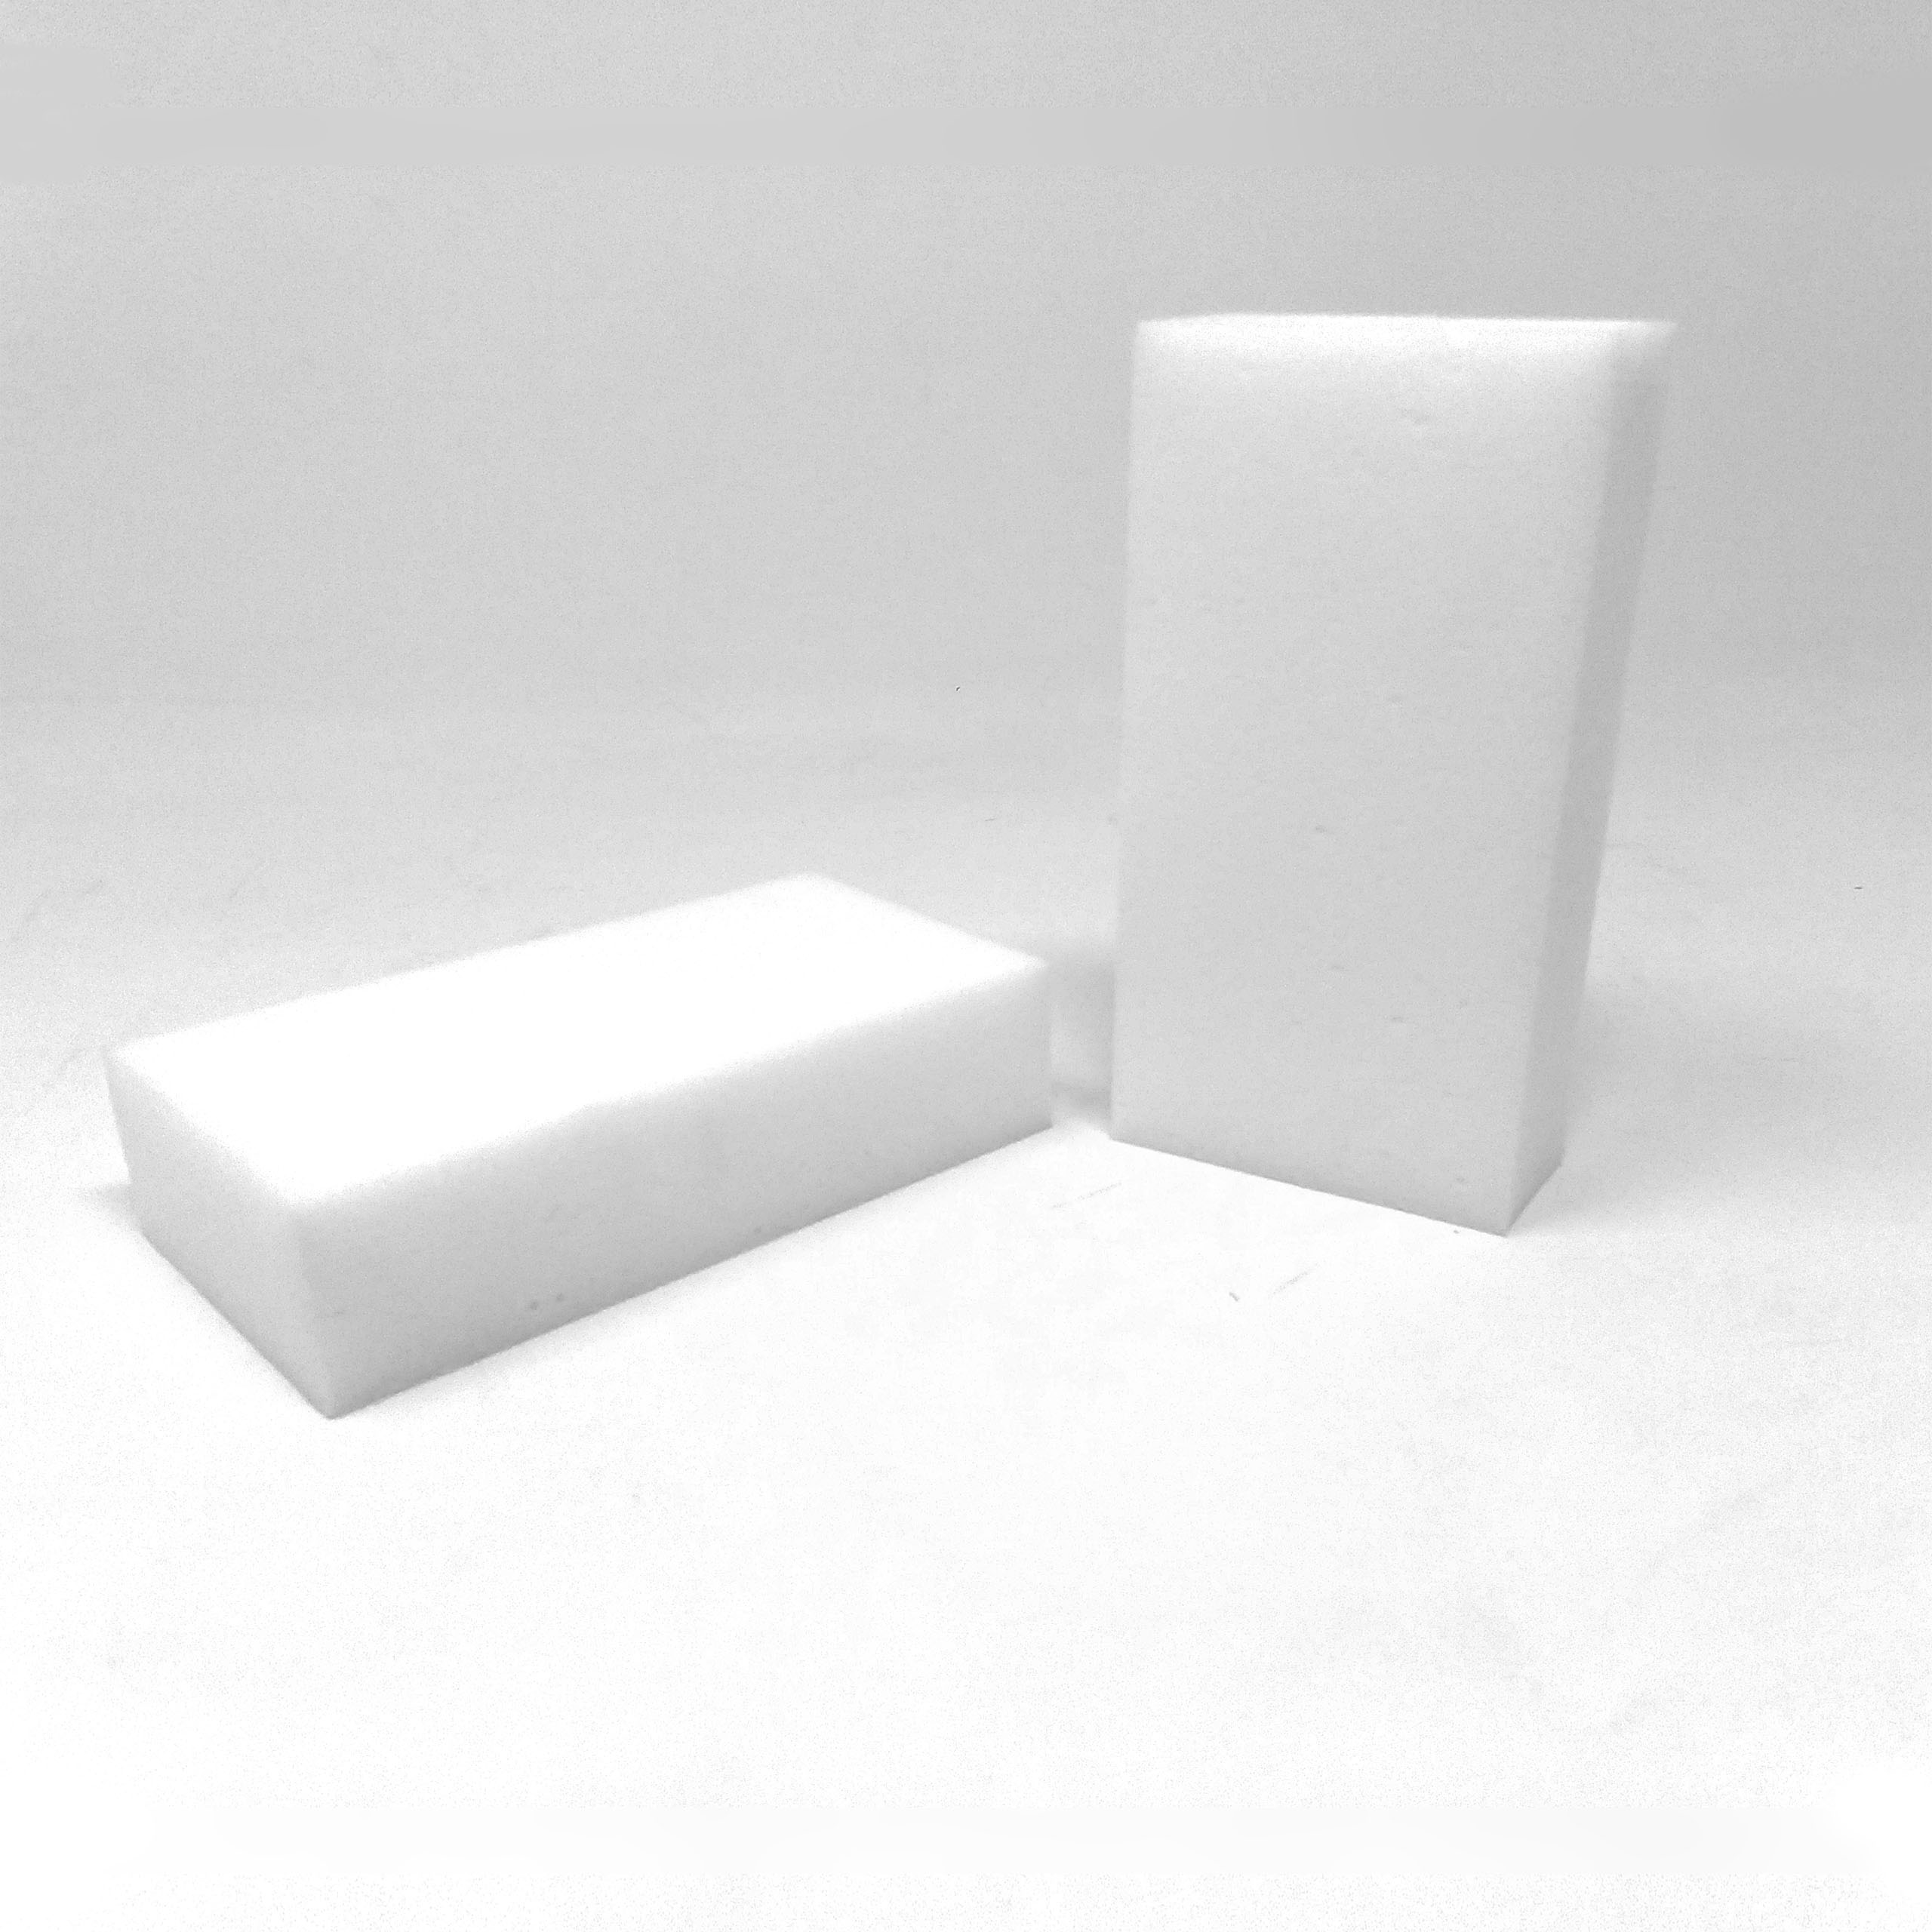
But what you didn’t know is that there are also Eraser Mops.

These are made of the same material as the Eraser Sponges, but they are actually pads that fit on your Doodlebug cleaning system.

No more getting on your hands and knees to scrub!

This product allows you to stand and clean your floors with the same strength as the Erasers.

You only need to use water in order to activate the cleaning power of your Eraser Mop.

Many of the toughest stains that we need to tackle are on the floor- whether it’s on tile, hardwood, or concrete.

How often do you spill something on the floor, only to find out later that you only got part of it up with your paper towels?

  • By then it is surely sticky and a nuisance.

Use your dual-layered Eraser Mop to clean it all up for good!

This product is also great for the elderly who are living in their own.

Instead of having to get down to clean the floor, they can just use the convenient handle.

This will allow them to get into hard to reach places without having to strain themselves unnecessarily.

If you have any other questions about our Eraser Mops or any other cleaning products we have, feel free to contact Sponge Outlet today.

Use Eraser Sponges to Help with DIY Crafts!

diy craftToday, we live in a world where we try to recycle and upcycle materials as much as possible.

What does this mean?

It means using old materials to create something new.

If you have ever taken a look at Pinterest, you will see that there are tons of crafts on there that require removing labels from bottles, jars, and other containers.

The problem that most people run into here is that when they remove the label, there is adhesive left behind and everything is sticky.

You really don’t want to try to paint something that had leftover adhesive on it. Not if you want to keep your paintbrush in one piece, at least.

Luckily, Eraser Sponges are great removing adhesive and other materials!

Here are some instances where this might be handy:

  • Removing labels from wine bottles, jars, plastic containers, in order to create something new. This will give you a clean surface to create a masterpiece with.
  • Removing spilled glue from a surface (it’s recommended you use a small piece for this, so you don’t remove anything besides what you’re meaning to remove). It can be tough to judge how much glue you will need, but it can be easily removed if it spills over!
  • Removing marker, crayon and pencil markings from surfaces. Especially with young children, it is a good idea to have cleaning supplies ready.

Regardless of the project that you are working on, messes are bound to happen.

Why not use a product that is going to quickly clean it up with no mess and no odor? Check out Sponge Outlet today!

Clean Your Fridge From Top to Bottom!

fridgeThere are many things in your home that need to be cleaned on a regular basis, but one that can be easily forgotten about is the fridge-particularly the inside of it.

Here is a walk through to help you clean it out using cleaning supplies that are already in your home.

Here is what you will need to clean a fridge:

  • Gloves (optional, but we’re sure you’ll want them)
  • Garbage Can
  • Recycling Container
  • Toothbrush or Small Scrubbing
  • Eraser Sponge
  • Cloths
  • Baking Soda

First, you will want to make sure you take everything out of the fridge.

  • You do not want to have foods anywhere near your cleaning supplies, so you will want to do this at a time where you can stick your perishable items elsewhere.
  • Also, get rid of foods that haven’t been eaten! It’s all too often that food is stuck and the fridge in the back and a science experiment begins!

Next make sure you get rid of any loose food crumbs.

  • This is going to save you time and effort later.

Once you have cleared the way, use your Eraser Sponge to wipe down all the surfaces.

  • And when we say this, we mean really get in the crevices. Take out the drawers and shelves and wipe them down separately. Don’t forget to use your Eraser Sponge on the walls of the fridge and the outside too; these areas get a lot of traffic as well.

If need be, you can use a small toothbrush to get into the hard to reach places.

It is very likely that in the process of cleaning and wiping down, there will be water that pools. It is best to make sure you get this wiped up as well so as to not encourage any build up.

Once the inside of your fridge is all clean, put your (clean) shelves and drawers back where they belong, and also put in a fresh container of baking soda.

  • This will help make your fridge smell better.

Other tips to keep in mind:

  • When putting the foods back in their place, wipe down the containers. Jelly can get sticky awfully quick and make it hard to clean up later. It will also help you not get your hands sticky!
  • Consider putting down shelf liners on the shelves and drawers. These peel off easily and will help keep everything cleaner for longer.
  • On a weekly basis, go through your fridge and get rid of foods you haven’t eaten that are going stale. Do this on garbage night so you don’t get stuck with funky smells.

[msh_feedburner]

Cleaning your Car with an Eraser Sponge

cleaning your carSummer is coming to a close- that means your car has probably been through the ringer.

It is time to clean out all that sand and grime you have accumulated over the summer months while having your summer fun.

The best tool for the car-cleaning job is the eraser sponge.

These things are a miracle for any cleaning situation.

First thing you need to do is make sure to wet the sponge enough to be wet but not soaking and dripping.

Start with your center console and dashboard.

  • These areas can collect a lot of dust in all the little cracks. Get deep in there and you will be sure to see the difference the eraser sponge can make. You can get all the stuck on food and grime your car has accumulated.

Next start cleaning your steering wheel, this is the most touched piece of your car and can accumulated the most germs and grime.

  • You may not even realize the amount of buildup until you go at it with your eraser sponge. Lastly use the sponge on any leather or vinyl. You can watch all the stains disappear before your eyes.

Now that the inside of your car is clean grab a new sponge and clean the outside.

  • Have you been taking the road trips to the country? Then you have TONS of bugs stuck on your windows and grill. Use your eraser sponge to take them off with ease. Yes it is gross but using the sponge will help make it go faster.

You can also use the sponge to clean off all the surfaces on the outside of the vehicle.

  • Even the tires, they may be more of challenge, but nothing is too hard for the eraser sponge.  Take your time and have fun with this!

10 Children’s Items the Eraser Sponge Can Clean

sponge outlet eraser spongeFor anyone who has kids, they know what a chore it can be to keep their belongings clean.

However, here are ten things that can be cleaned out with everyone’s favorite product:

  • Action Figures and Dolls:
    • The faces of the dolls are a soft vinyl and they can come clean pretty easily- just wipe down gently so that you do not scratch the surface.
  • Inflatable Toys:
    • Even if they haven’t been put in your child’s mouth (which depending on the age of the kid that could have happened) but cleaning these will help lead to less germs and less chance of sickness.
  • Bedroom Furniture:
    • You never really know how much buildup there is on surfaces until you clean it.
  • Sneakers:
    • This will work for anyone, but kids are notorious for running in mud and splashing in puddles. Especially now that it is time to go back to school- don’t buy more shoes, just clean them up!
    • You do not use much water to clean them with the eraser sponge, so you can put them on and leave right away.
  • Lunchboxes:
    • This is an item that you might not think to clean all the time, but if you wipe them down with an eraser sponge then you would be less likely to create build up.
    • For added safety, wipe down the lunch box with a paper towel to dry it and make sure no debris were left behind.
  • Gaming Systems:
    • While you shouldn’t use water on these consoles, a well rung out eraser sponge would do wonders when it comes to cleaning the console itself, the controllers, or even hand held games that get carried around.
  • Bathroom:
    • The eraser sponge is a tool that children could easily clean up with, since there isn’t anything that can get into their eyes. Encourage them to help out with chores by giving them an eraser sponge.
  • Sporting Equipment:
    • Remember that bag that has been sitting at the bottom of their closet with all of their equipment? It might be a good time to wipe that down and give it a fresh start.
  • Bike:
    • A bike can be a huge investment. Instead of taking it outside to hose it down, let your children do their own detail cleaning. They can feel proud in their work.
  • Just about anything have to do with babies:
    • Most of the items your baby or toddler will be dealing with will be plastic, and let’s face it, it doesn’t stay clean for all that long.
    • Cribs, highchairs, booster seats, diaper pails… the list is endless. It’s important to keep your baby’s belongings clean so why not use a simple tool to get the job done?

Use Eraser Sponges to Transform Your Painting!

watercolor

In the past we have been sharing fun and even unique uses for your eraser sponges, but this one definitely takes the cake.

From the time that eraser sponges have become popular, people have been searching for uses and tricks.

Do you paint?

This could include watercolor or even using powerful stains outside of your typical paints.

Did you make a mistake?

You can use your eraser sponge to fix them!

With water color paintings it is very easy to get paint where you didn’t mean to, and can also make it hard to change the overall look of the painting.

With eraser sponges you now have a way to do that.

Here is how:

  • If you have something you would like to add to your water color painting, create a stencil of the object and place it on your painting, wherever you want to object to be.
  • Once the stencil is in place, take a small piece of an eraser sponge and wet it. Make sure to squeeze out most of the water.
  • Once this is done, gently wipe the painting where the stencil is. This will bring up the paint. Do this multiple times until the canvas/paper is blank again.
  • Once you pull up the stencil, you will find that there is a perfect white spot in the shape of your object! This will make it easier to add in that shape or object that you couldn’t add in before.
  • It is suggested to dry your painting, or set it aside to let it dry naturally before working on it again.

Who would have thought that eraser sponges would have artistic uses?

Has anyone ever done this before? How well did it work for you?

God’s Gift to Homes: Eraser Sponges

If you haven’t used an Eraser Sponge or have been living under a rock for the past few years, here are a few ways the Eraser Sponge can make your life easier.

There are many more uses than we have below, but these are some of the things you may not have thought of yourself.

  • Clean Shoes– Sneakers and boots are too expensive to keep buying new ones, and everyone wants to walk around with fresh kicks.
    • Instead of throwing them in the washer and damaging the soles simply rub them with the Eraser Sponge.
  • eraser spongesIrons– Sometimes your iron may develop a buildup from using starch on your clothes or just because of the fibers on your clothes.
    • Using the Eraser Sponge on your iron will make it look new, like the first time you had it.
  • Tough Tub stains– Really it can be used on any bathroom stain but the one you notice the most is from the bathtub. You see it every day and it drives you crazy!
    • Give it a little bit of elbow grease and your tub will look good as new.
  • Crayons and Pens– If you have little ones running around you are going to come home to a master piece on your wall someday. Instead of spending hours cleaning it off with harmful chemicals use the Eraser Sponge.
    • Heck with the Eraser Sponge you could even have the child clean up their own mess as it is not a chemical like bleach.
  • White Boards– Yes they make erasers and cleaners to clean white boards. But why keep around another product that only has one use.
    • The Eraser Sponge is multi-use and some even say it makes the white board cleaner than the product sold for it.

Making the Most of Your Eraser Sponge

Instant Erase Extra Large Melamine Eraser Sponges (21pk) 2 ponges one standing upright, the other lying down

Making your Eraser Sponge last as long as it can!

We all know how nifty these little eraser sponges are- they work like magic, cleaning  just about anything and without the chemical smell afterwards. But how do you make them last as long as possible, and get every pennies worth out of them? Follow these tips to get the most use out of your eraser sponge.

Try cutting your Eraser Sponges into quarters- cut long strips along the width. This will give you four times the scrubbing power, and that much more surface to work with!

Many of us think to automatically dunk our sponges into the water and then squeeze it out- but wait a minute, there is a better way to do this. Instead, try lightly misting it with water (using a mister or the kitchen sink sprayer). Do this instead of saturating it first- because this tends to make the eraser sponge shrivel up more.

Another tip is to lightly scrub with your Eraser Sponge. The surface of these Sponges will require a lot less elbow grease, because of their unique surfaces. Also this will help you with the shredding. The less you press it into the surface you are working on, the longer it will stay intact.

Lastly, when your Eraser Sponge starts to get a little gross, (after cleaning your toilet, sink, tub, etc.) simply spray it to rinse it out. This will help revive it a bit. Squeeze the excess out. Do this until it begins to shred.

What’s another great tip for never running out of these awesome Eraser Sponges? Buy them in bulk.

Understanding Eraser Sponges: Don’t DIY!

eraser spongeMost homeowners agree that eraser sponges are a staple when it comes to household cleaning supplies.

People swear by them, and with good reason. They can get almost anything out of any surface; there’s very little that an eraser sponge cannot do.

Eraser sponges are great and easy enough to obtain, yet with DIY becoming more popular, everyone wants to find a homemade solution for everything.

Some things, you just cannot replicate, like an eraser sponge.

Regardless, people try; you may even see some DIY eraser sponge tutorials on Pinterest. The quality, professionally made eraser sponges will get stains out of your walls, floors, and surfaces.

However, the DIY substance that you make based off a stranger’s advice is likely to just make a bigger mess.

The material used in these is referred to as Melamine Foam.

This is an efficient tool for removing stains, and it’s easy enough to obtain the material. However, executing the creation of a quality eraser sponge is much more difficult than a DIY project.

Trying to DIY with this particular project just isn’t worth the possible outcomes.

When using the sponges on your surfaces, remember to wear gloves for protection… from the water.

There have been many internet rumors about eraser sponges and their “danger”.

Fortunately, Snopes recently debunked the myth about eraser sponges being harmful, so there’s nothing to worry about as far as cleaning with them.

So go ahead, make eraser sponges a staple on your shopping list too.