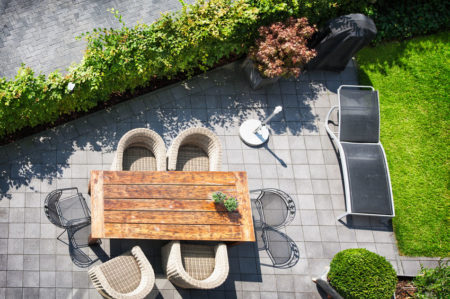
It’s beginning to look a lot like…Summer! With the stretch of warm weather across the country looking very promising in many places, people are looking to get outside and relax in their yards. Taking out patio furniture is exciting, but can also be very dirty. Dirt and dust can really accumulate after months of storage. To get these items cleaned, it’s a simple as using one of our Instant Erase Eraser Sponges. You will have your furniture looking good as new in no time!
Eraser Sponges Make Cleaning Easier
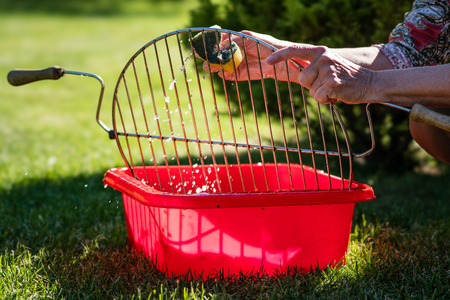
If you have plastic tables and chairs, cleaning them is a breeze with our sponges. In no time you can remove dust, spider webs and more. Eraser sponges can even easily get rid of hard to remove stains. With the melamine eraser sponge from Sponge Outlet, you won’t have to fret over wiping your patio furniture down for the season. Simply follow the steps below!
- Wet sponge and squeeze out excess water
- Wipe down furniture of stains, scuff marks, dust, webs
- Rinse sponge under water and squeeze dry
- Let it air dry
- This is a multiple use sponge
Outdoor furniture like plastic chairs, lawn chairs, tables, umbrellas and Adirondack Chairs can all be cleaned and freshened up before taking them out this summer to enjoy.
As always, remember that our sponges are abrasive, and it’s important to spot test on an inconspicuous area.
Keep Your Outdoor Space Clean this Summer
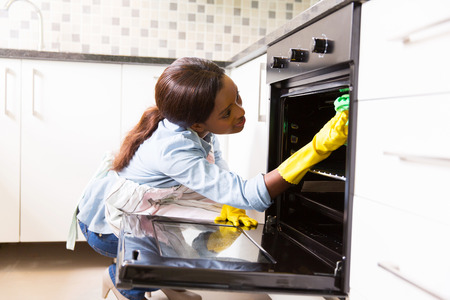
You don’t have to worry about toxic chemicals either because our melamine eraser sponges are non-toxic with no chemicals hazardous to your health and the environment. From outdoor lighting fixtures to lawn chairs, our eraser sponges will get the job done, and you will be happily surprised with the outcome.